In the realm of iOS solutions, one common hurdle that users often face is the ‘createinstallmedia command not found‘ error when attempting to create a bootable installer for macOS. Follow our expert guide to resolve the ‘createinstallmedia command not found’ error. Learn how to create a bootable macOS installer with ease.
What is ‘createinstallmedia Command not Found’ Error
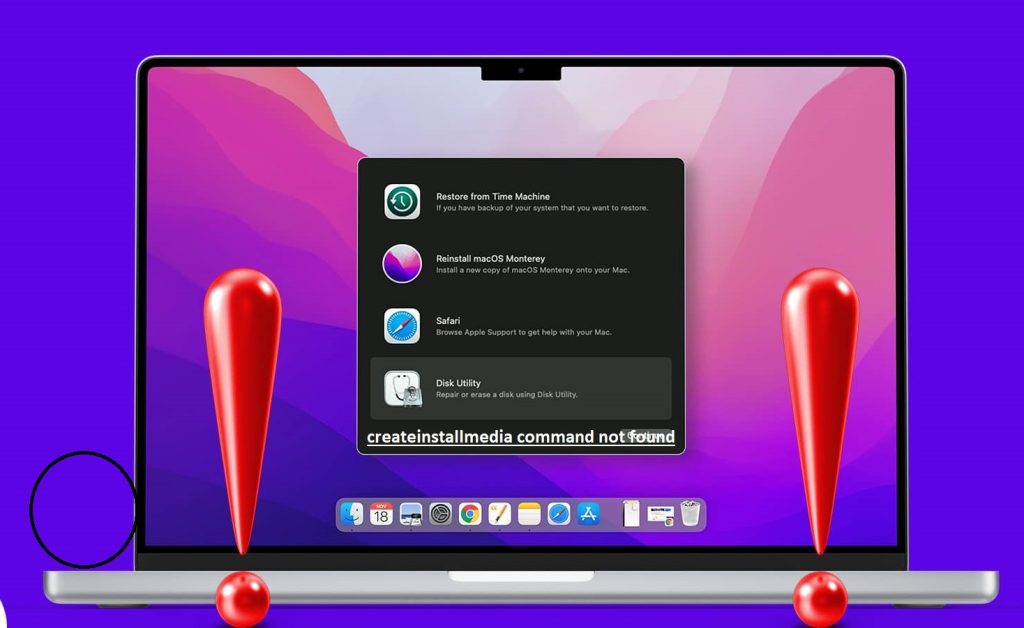
The ‘createinstallmedia command not found’ error typically surfaces when the macOS Terminal fails to recognize the ‘createinstallmedia’ command. This command is integral to creating a bootable installer for macOS, and its non-recognition can halt the process in its tracks. The error often arises when the macOS installer isn’t downloaded correctly or is located in the wrong folder.
The Power of Bootable Installers: Why You Need One for macOS
A bootable installer is a handy tool that allows you to install, reinstall, or upgrade your macOS. It’s particularly useful when you need to install the OS on multiple machines without downloading the installer each time. It also serves as a lifeline if you encounter issues with your macOS that prevent it from starting up normally.
Step-by-Step Guide to Creating a Bootable Installer

Here’s a step-by-step guide for creating a bootable installer for macOS:
Step 1: Downloading the macOS Installer
- Open the App Store on your Mac.
- Search for the desired macOS version (e.g., macOS Big Sur) and click on the “Get” or “Download” button to start the download.
- Ensure that the installer is downloaded to the Applications folder as a single ‘Install’ file.
- If the installer launches automatically after downloading, quit it without proceeding with the installation.
Step 2: Prepare the External Drive or Secondary Volume
- Connect the external drive (e.g., USB flash drive) or secondary volume to your Mac.
- Open “Disk Utility” from the “Applications > Utilities” folder.
- Select the connected drive or volume from the left-hand sidebar in Disk Utility.
- Click on the “Erase” button and choose “Mac OS Extended (Journaled)” as the format.
- Give your drive or volume a name, and click on the “Erase” button to format it. Note: This step erases all existing data on the drive, so make sure to back up any important files beforehand.
Step 3: Create the Bootable Installer
- Open the Terminal application from the “Applications > Utilities” folder.
- Type the following command in the Terminal, replacing “YourVolumeName” with the name you assigned to your external drive or volume in Disk Utility: sudo /Applications/Install\ macOS\ [macOS Version].app/Contents/Resources/createinstallmedia –volume /Volumes/YourVolumeName
For example, if you are creating a bootable installer for macOS Big Sur and your external drive is named “MyUSBDrive,” the command would be: sudo /Applications/Install\ macOS\ Big\ Sur.app/Contents/Resources/createinstallmedia –volume /Volumes/MyUSBDrive
- Press Enter and enter your administrator password when prompted. Note that you won’t see any characters as you type your password; this is normal.
- Terminal will display a confirmation message and ask if you want to erase the volume. Type “Y” and press Enter to continue.
- The creation of the bootable installer will begin. It may take some time to complete, so be patient.
Step 4: Finishing the Process
- Once the Terminal displays the “Install media now available” message, the bootable installer has been successfully created.
- You can now safely eject your external drive or volume from your Mac.
- Your bootable installer is ready for use. Simply connect it to a Mac and restart the computer while holding down the Option (⌥) key to access the startup menu and select the bootable installer as the startup disk.
Remember to always follow the official Apple documentation and ensure compatibility with your specific Mac model and the macOS version you’re creating the bootable installer for.
Bypassing the ‘Command Not Found’ Roadblock:
If you encounter the ‘command not found’ error, there are several troubleshooting steps you can take:
Step 1 : Ensure that you are logged in as an administrator. The Terminal commands required to create a bootable installer necessitate admin privileges.
Step 2 : Verify that you have the correct installer for your macOS version. Different macOS versions have distinct ‘createinstallmedia’ commands. For instance, the command for macOS Monterey differs from that of macOS Catalina or Mojave.
If the error persists, it’s possible that the installer might be corrupted. In this case, delete the installer from the Applications folder and re-download it from the App Store.
FAQs
Why does my Mac terminal keep saying command not found?
This error usually occurs when the Terminal cannot locate the command you’re trying to run. In the context of creating a bootable installer, it could mean that the macOS installer isn’t correctly downloaded or is in the wrong folder.
Why can’t I install a new OS on Mac?
Several issues could prevent you from installing a new OS on your Mac. These include insufficient storage space, an incompatible Mac model, a weak or disconnected internet connection, or a corrupted installer.
What to do if macOS cannot be installed?
If you’re unable to install macOS, first ensure that your Mac is compatible with the version you’re trying to install. Next, check your internet connection and storage space. If the issue persists, try creating a bootable installer.
How to install a bootable Mac USB?
To install a bootable Mac USB, you need to use the ‘createinstallmedia’ command in Terminal. This process involves formatting your USB drive as Mac OS Extended (Journaled) and running the correct ‘createinstallmedia’ command for your macOS version.